|
Are you also a Rockspace wifi range extender fan like other users? Well, then this is the perfect site for you as this will guide you on how to set up your extender. The rock space wifi extender setup is not a tough nut to crack. You just need to go to the official web portal for rockspace wifi range extender setup i.e., re.rockspace.local. You can carry out the rockspace set up in two different yet easy ways;
Easy Steps To Attempt The Rockspace Setup Using The WPS Button Method: Step 1. To begin, take a pointed object like a pin, pen, or pencil. Step 2. With that, press the reset button on your Rockspace wifi extender. Step 3. Keep the wifi extender nearest to the main wifi router. Step 4. Check the power supply and ensure it is consistent. Step 5. Switch on your extender by pressing the power button if it didn’t automatically turn on. Step 6. Push the WPS button after a few seconds. Step 7. Let the green WPS bulb become steady. Step 8. Now disconnect the wifi extender from the electric socket. Step 9. After that attach it o a new plug point. Step 10. Make sure the placement of the wifi extender is exactly between the router and network dead zones. Step 11. Test the internet connection by opening an internet browser on your system. 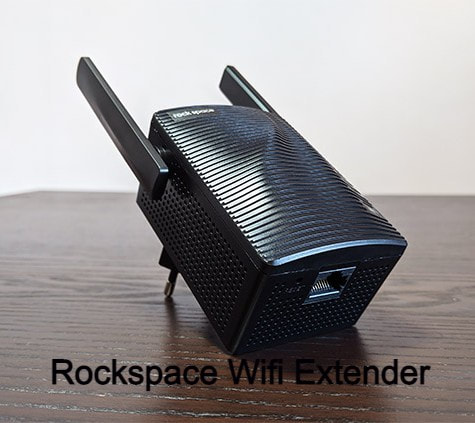 Easy Steps To Attempt The Rockspace Setup Using The Ethernet Cord:
Step 1. For manually setting up, locate it close to the home wireless router network. Step 2. Take a CAT5 ethernet cord and connect the router and extender with it. Step 3. Associate your computer to the wifi network. Step 4. Plug both router and extender devices into the electrical socket. Step 5. Check the power supply, make sure it is proper. Step 6. Open your desired internet browser from the PC system and visit the web page re.rockspace.local. Step 7. Use the default IP address to log in, if the web UI is not working. Step 8. This will redirect you to the extender’s web UI. Step 9. Enter the default login information and proceed to the next step. Step 10. Hit the sign-in or log-in tab. Step 11. The final step will take you to the Rockspace wifi extender’s setup page. Step 12. Click on the ‘extender’ tab to finish the setup procedure. Step 13. To save the changes, click on the ‘apply’ tab. Step 14. Follow the on-screen instructions to conclude the setup. Step 15. Place the wifi extender in the middle of the wifi router and poor network zones. Enjoy Enhanced Internet Speed And Coverage! After finishing the Rockspace setup, you can experience improved network speed and strengthened signals. The setup process becomes simple, convenient, and quick via both the methods i.e. the wireless method and the manual method with the help of re.rockspace.local. Now, setting up the Rockspace wifi extender is easier than before.
0 Comments
Leave a Reply. |
 RSS Feed
